How to Make Homemade Bread (It’s easier than you think!)
by Deirdre Hahn, Lifestyle Contributor | This is a post about making bread… during the era of gluten-free everything. I realize I’m going against the grain (lol), but I still believe there is something quite magical in savoring a piece of warm, homemade bread. So delish….
Plus, have you ever read the ingredient list of all the “junk” that’s in your favorite loaf of bread at the store? From dextrose (code for sugar) and soy lecithin to other chemical names that are difficult to pronounce, it’s not pretty. The store-bought choices are improving, but they are slim.
My daughter’s food allergies provided the motivation for me to start baking bread, but when we discovered her allergies nine years ago, I wasn’t a very good cook. I certainly wasn’t a bread baker. I remember the day at the library when I came across Artisan Bread in 5 Minutes a Day by Jeff Hertzberg, MD, and Zoe Francois. I thought, that seems ridiculous! But, I checked it out anyway and I was shocked — that book was my game changer. Fresh homemade bread (albeit lopsided and unattractive for the first few tries) became a part of my home menu. I ended up purchasing all the bread books by Hertzberg and Francois and, after months of experimenting, I was adept at making a variety of bread products by hand. After nearly 10 years, I’m mostly down to a handful of favorite breads that I can make anytime.
Baking bread can be easy and fun. Kids especially love making bread because they can get their little hands right into the dough and mush it around. Of course, there are some amazing bread baking machines that require very little hands-on time and even have gluten-free options (Zojiruchi Virtuoso is an excellent machine!), but for this story I’m focusing on handmade bread.
I’m only going to demonstrate basic loaf making below. So, if you want to take a deeper dive into the art of making bread, I strongly encourage you to read the following books:
- The New Artisan Bread in 5 Minutes a Day by Jeff Hertzberg, MD and Zoe Francois
- The Bread Baker’s Apprentice: Mastering the Art of Extraordinary Bread by Peter Reinhart
- Tartine Bread by Chad Robertson
- Bouchon by Thomas Keller
Okay, let’s bake some loaves!
To keep things simple, this is a white bread recipe. Hang with me here… I’m going to show you a tiny bit of math, but I promise it’s easy and painless!
I’ve learned to think about bread as a simple formula:
Bread = 100% flour + 68% water + 2% salt + 1% yeast
Through this formula, I can control yield, texture and consistency. The whole formula is pegged to the amount of flour I use. Here are some examples:
Yield: 2 Loaves
1000g flour
680 g water (1000 * .68)
20 g salt (1000 * .20)
10g yeast (1000 * .10)
Yield: 1 Loaf
500g flour
340g water (500 * .68)
10g salt (500 * .20)
5g yeast (500 *.10)
I like weighing in grams because frankly, it is WAY easier for me to remember numbers than it is to remember fractions. Plus, grams are easier to calculate; 53 grams is more precise than a quarter ounce. Weighing my ingredients allows me a considerable amount of creativity with the outcome of the final loaf, such as swapping the water for milk, mixing a variety of flours, or bumping up my moisture level for less density.
For example:
500g All Purpose Flour + 500g semolina flour = 1000g
340g milk + 340g water = 680g
10g salt + 10g turmeric = 20g
10g yeast = 10g
(As you may guess, this bread would be a lovely shade of yellow!)
You get the idea. Again, I strongly recommend reading just one good book on bread baking to understand the nuances to a great loaf (i.e., using sourdough starter, adjusting ratios, using different kinds of flours, use of flavorings, long rise vs. short rise, etc).
Onward!
Tools:
– Scale that measures in grams
– Thermometer
– Large bowl for rising
– Plastic wrap
– Dough cutter
– Parchment paper
– Kitchen scissors or sharp knife
– Spray bottle of water
– Loaf pans or Baguette pan
– Stand Mixer with dough hook (optional)
– Silpat (optional)
Ingredients:
– All-purpose flour (recommend King Arthur brand)
– Instant yeast (SAF or Red Star Brand)
– Warm water
– Kosher salt (do not use table salt)
– Olive oil
Method:
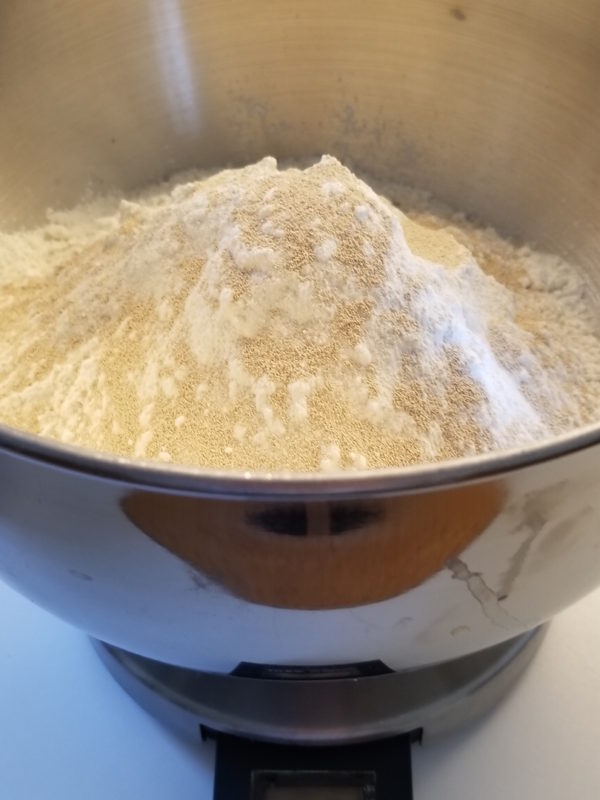
- Using the scale and a large mixing bowl, tare the scale (tare is a reset to zero so you are not weighing the bowl), then pour 1000g of flour into the mixing bowl for your stand mixer (or just into a regular large bowl).
- Tare the scale to zero again, then add the 10g of instant yeast. Mix the yeast into the flour.
- Tare the scale to zero again, then add 680g of warm water (~85f) to the flour yeast mixture.
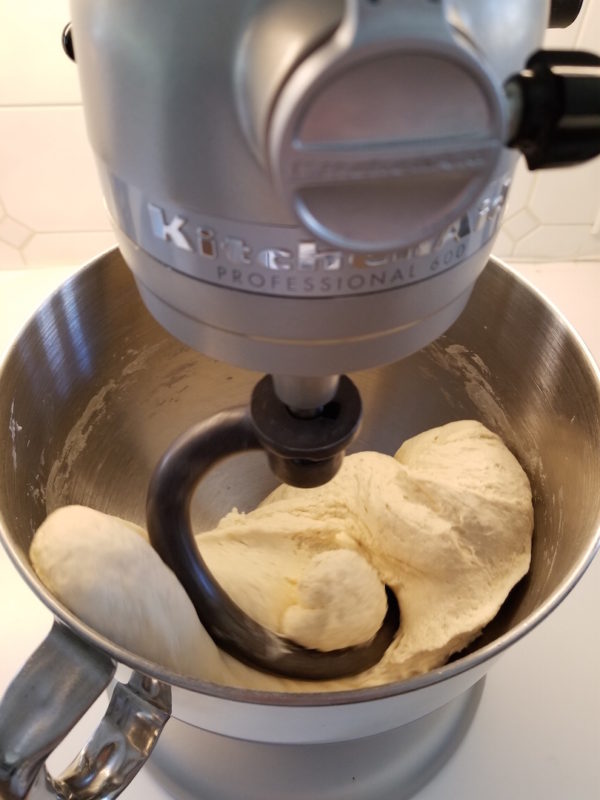
- Put the bowl onto the stand mixer, attach the dough hook, and mix on low for 1-2 minutes until the dough is very shaggy. Alternatively, using your hands, mix the dough in the bowl until shaggy.
- With the stand mixer still on low, sprinkle in 20g of salt and continue to mix on low for another 1-2 min. Put the speed up only 1 more notch and knead the dough for another 4 minutes. Alternatively, using your hands, knead in the salt and continue to knead the dough in the bowl for another 4 minutes. The dough should pull away from the sides of the mixer and become a smooth ball. If the dough seems too dry, add a few drops of water at a time and continue to mix until a smooth ball forms.
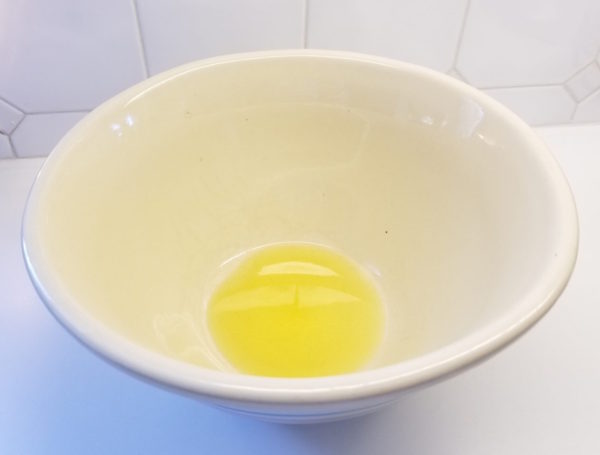
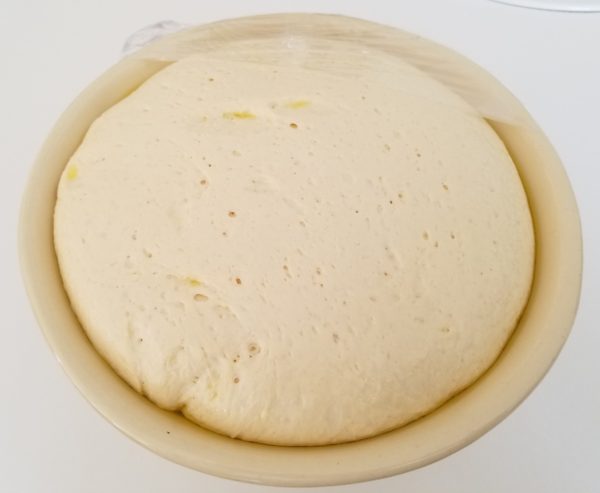
- Remove the dough from the mixing bowl, form into a ball, and transfer to a well-oiled bowl for rising. Roll the dough around the oiled bowl so all sides are oily. Cover with plastic wrap. I like this step because it keeps the dough from sticking to the sides of the bowl and plastic wrap, and it keeps the dough from drying out.
- Set timer for 2 hours and let dough go through its first rise.
- After 2 hours, remove dough from bowl and carefully put onto a floured Silpat (or other large floured surface like a countertop or cutting board). Be careful not to deflate the dough too much.
- Using the dough cutter, cut the huge piece of dough into 2 halves. Carefully shape these halves into long loaf shapes.
- Line the baguette pan with parchment paper (if your pan is non-stick, you can skip this step).
- Carefully cut with scissors or score the dough with sharp knife to allow for expansion.
- Spray baguettes with a little water and cover with a towel.
- Rise dough for 60 to 90 minutes more. Heat oven to 450 degrees.
- Spray baguettes with water again and put pan into oven to bake. The moisture on the bread helps it to brown and form a crust.
- Bake for approximately 20 min. When the interior reaches 200-205 degrees on a thermometer, remove bread from oven to a rack to cool for at least 20 minutes. This cool down helps the bread hold its form when cutting it warm.
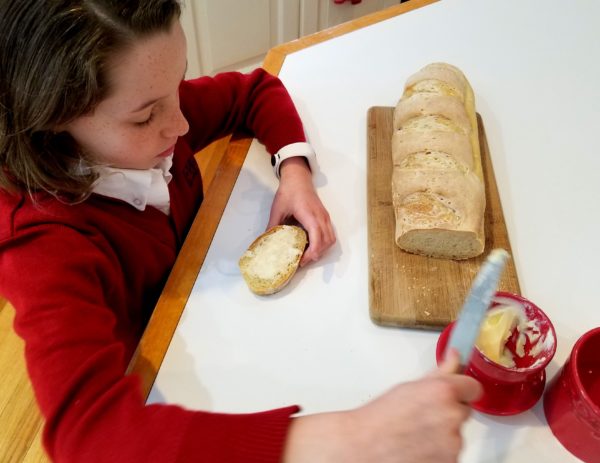
- Grab your butter crock and let your kids enjoy a fantastic after school snack!
- Then, take a break yourself by pouring a glass of vino and enjoy warm bread dipped in olive oil dashed with balsamic vinegar… Cheers!
4 responses to “How to Make Homemade Bread (It’s easier than you think!)”
Leave a Reply
-

Angela’s Lab | Let the Super Bowl Festivities Begin!
-

Mama Needs a New Pair of Fancy Shoes
-

Video | NYE Ball-Dropping Party Looks!
-

Angela’s Lab | Fashionable Gifts to Kick-Start Your Shopping
-

Lust. Luxe. Less. | Meow for Kitten Heels
-

Celeb Style Crush | Reese Witherspoon
-

Saving the Earth One Dress at a Time
-

Fab from the Lab | Lace-Up Ballet Flats
-

Girl Style Lab | Charmed, I’m Sure
-

Fab Finds | Take Your Boots from Plain to Glam







I definitely try preparing it soon. The method you shared is easy and seems awesome.
That’s great to hear!! Good luck and please let us know how it turns out! xo
I’ve always wanted to do this! Yours looks so good!
Thank you so much! You should definitely try it! xo